Understanding Gel Phase in Cold Process Soap
When crafting cold process soap, you may have encountered the term gel phase, but what exactly is it? And should you aim for it in your soap-making process? Understanding the gel phase can help you achieve vibrant colors, a smooth texture, and a professional-quality bar of soap. Let's explore what it is, why it matters, and how to manage it effectively.
What Is Gel Phase?
Gel phase is a stage in the saponification process where the soap heats up internally and takes on a translucent, gel-like appearance before cooling and hardening. This occurs when the temperature of the soap batter rises above approximately 120°F (49°C) and can last for several hours. Once the soap cools down, it solidifies into its final opaque form.
Why Is Gel Phase Important?
While not strictly necessary, allowing soap to go through the gel phase offers several benefits:
- Enhanced Color Vibrancy – Natural colorants and clays appear richer and more defined in gelled soap.
- Smoother Texture – Soap that fully gels has a polished, uniform appearance.
- Faster Cure Time – The heat generated during gel phase speeds up saponification, reducing overall cure time.
- Harder Bars – Some soap makers find that gelled soap produces a firmer bar compared to ungelled soap.
However, some soap makers prefer to prevent gel phase because ungelled soaps tend to have a more pastel, matte appearance, which can be desirable for certain aesthetics.
How Does Gel Phase Work?
Gel phase is primarily influenced by temperature and insulation. Here’s how it works:
- Heat Generation: As lye and oils interact, the exothermic reaction creates heat.
- Temperature Retention: If the soap is well-insulated, the heat stays trapped, encouraging the soap to enter the gel phase.
- Even Gelation: A full gel occurs when the entire loaf reaches a consistent temperature. A partial gel happens when only the center gels, leading to a darker core with lighter edges.
Common Mistakes & How to Fix Them
Even experienced soap makers run into challenges with gel phase. Here are some common mistakes and how to fix them:
Partial Gel (Uneven Appearance)
- Cause: The soap reached gel phase in the center but not on the edges, resulting in a two-toned look.
- Fix: Ensure even insulation by wrapping the mold in towels, using a heated blanket, or placing it in a warm oven (preheated to 170°F, then turned off).
Overheating and Cracking
- Cause: If the soap gets too hot, it can develop cracks or an overheated, foamy appearance.
- Fix: If overheating is suspected, remove insulation immediately and place the soap in a cooler area. You can also spritz the surface with rubbing alcohol to cool it slightly.
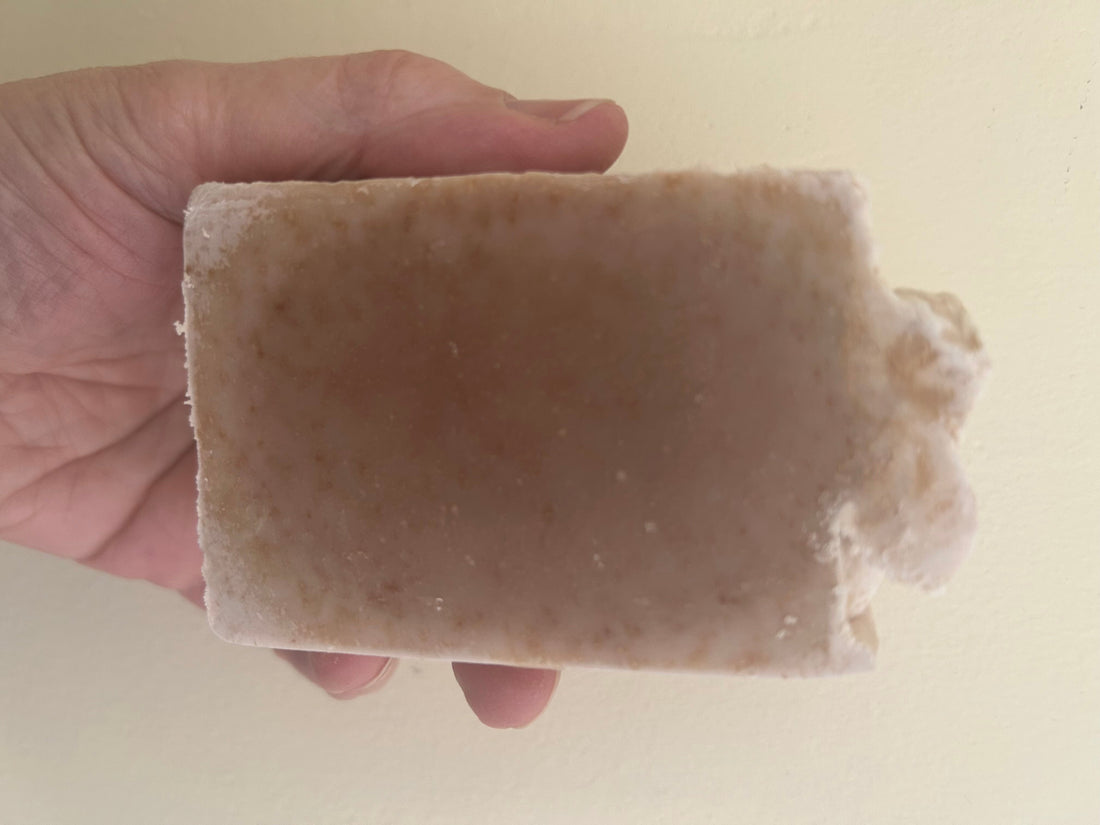
Soda Ash Formation
- Cause: If soap cools too slowly or is exposed to air too soon, soda ash may form on the surface.
- Fix: Cover the soap with plastic wrap while it sets, and spray with rubbing alcohol at trace to minimize soda ash.
Understanding and controlling gel phase gives you more control over the final look and texture of your cold process soap. By managing insulation, heat retention, and curing conditions, you can create beautifully finished soaps every time.