Why Cold Process Soap Cracks and How to Prevent It
Cracking during saponification can be a common issue for soap makers. Saponification is the chemical reaction that occurs when fats or oils come into contact with sodium hydroxide (lye), resulting in the formation of soap.
In this blog, I’ll explain why cracking occurs and what can be done to fix it before saponification ends.
Reasons for Cracking During Saponification
I first encountered soap cracking while working on a small test batch. For this particular soap, I was using unsweetened apple juice in place of water and some essential oils I never used before. These particular essential oils were speeding up the process of saponification, causing it to heat rapidly.
I typically insulate my soap molds with a blanket. This caused additional problems as the heat from the insulated blanket and the accelerated heat from saponification were causing the soap to expand and then crack as it cooled.
Other reasons your soap may be cracking include:
Rapid Temperature Changes: Sudden shifts in temperature, either heating up or cooling down too quickly, can cause the soap to crack.
High Water Content or Incorrect Lye Concentration: Excessive water in the soap batter can lead to cracking as the water evaporates and the soap shrinks. Also using an incorrect amount of lye can result in an unbalanced soap mixture, leading to structural weaknesses and cracking.
Pouring Temperature: Pouring the soap batter at too high or too low a temperature can affect the final texture and cause cracking.
Mold Type and Quality: Using molds that do not allow for even temperature distribution or are of poor quality can contribute to cracking.
How to Fix Cracks Before Saponification Ends
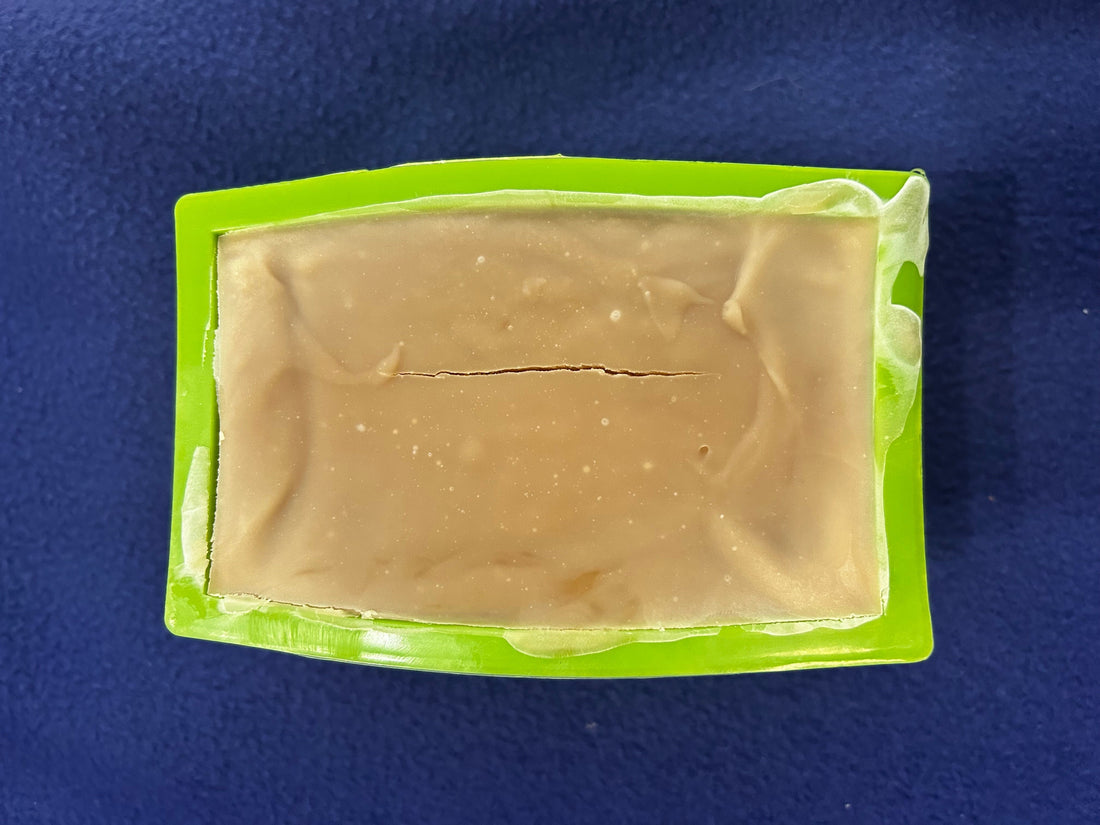
Luckily, I checked my soap while it was still cooling and that is when I saw the crack across the top. I immediately unwrapped the mold from the blanket and removed the cover. I then placed it on a cooling rack so air could circulate under it, further cooling the soap.
After 24 hours, I did still see a slight crack in the top but it could have been much worse if I didn’t check to see how the soap was progressing during saponification. Since this was a test batch, I was able to make adjustments to my final batch and am happy to report that no cracking occurred!
If you notice your cold process soap starting to crack during saponification, here are a few more steps you can take to try and correct it before the process is complete:
Move to a Cooler Location: If possible, move the soap mold to a cooler area. This can help bring down the temperature and reduce the risk of additional cracking.
Spritz with Alcohol: Lightly spritzing the surface of the soap with rubbing alcohol (91% isopropyl alcohol) can help reduce surface cracks. This is particularly effective if the soap is starting to harden on the surface but is still soft inside.
Press and Smooth: If the soap is still in a semi-liquid state, gently pressing and smoothing the surface with a spatula or the back of a spoon can help to close minor cracks. Be careful not to disturb the soap too much.
Monitor and Adjust: Keep a close eye on the soap as it continues to saponify. If you see further signs of cracking or overheating, take additional steps to cool the soap down gradually.
By understanding these factors and implementing preventive measures, you can minimize the risk of cracking during the saponification process and produce high-quality cold process soaps.